Initial Setup of Epson TM-C3500
To use the printer in vistrax, you must first set up the device. For setup, the printer driver must be installed in the operating system. Then the format/label is imported within vistrax and the paper type is adjusted.
Note
When printing with an inkjet printer, please follow the manufacturer's care and maintenance instructions. These can be found in the manufacturer's manual. Inkjet printers must be used regularly to prevent the cartridges from drying out.1 Installation of the printer driver
1.1 Install the supplied printer driver. You can either install it using the driver from the manufacture's page or directly from us viathis.
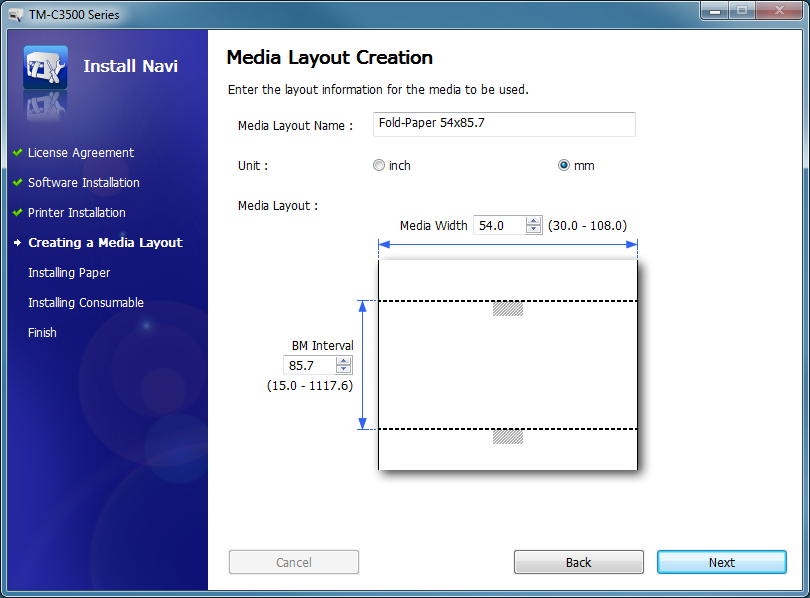
1.2 During the installation you will be asked if you want to define a new “media layout”. Depending on your print media, you can set up the printer to suit your needs at this point. The following is an example of label paper with the size 54×85 mm and a black mark between the print media.
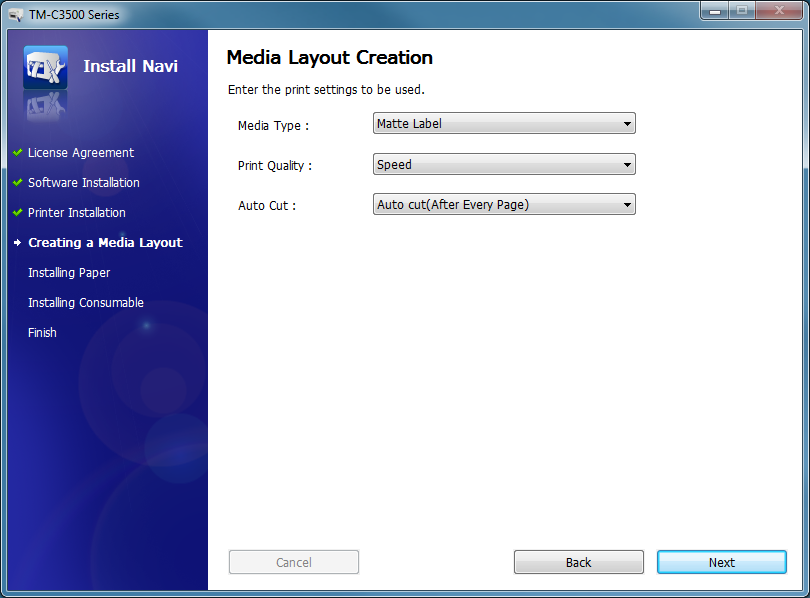
1.3 Then set the following values as required. We recommend changing the “Print Quality” from “Speed” to “Quality”.
1.4 The driver installation is complete. The printer should be listed under Control Panel → Printers and Devices.
Note
When using the label paper, a plastic part must be inserted from the rear cover into the front cover. Please refer to the Epson operating instructions.2 Adding new layout templates in vistrax
Open the layout overview page with the following link. Through clicking on your printer its layout options are shown. Download your desired layout and import it in vistrax (see section 2.1). Please consider the size and properties of your print medium. If necessary, you may have to adjust the print properties accordingly.
Printer Layouts Overview
In addition to a layout template, you need a suitable paper type. Again, you must take into account the dimensions of the print medium you have
TM-C3500-PaperType-RollPaper 85
TM-C3500-PaperType-FanfoldPaper 54x85.7
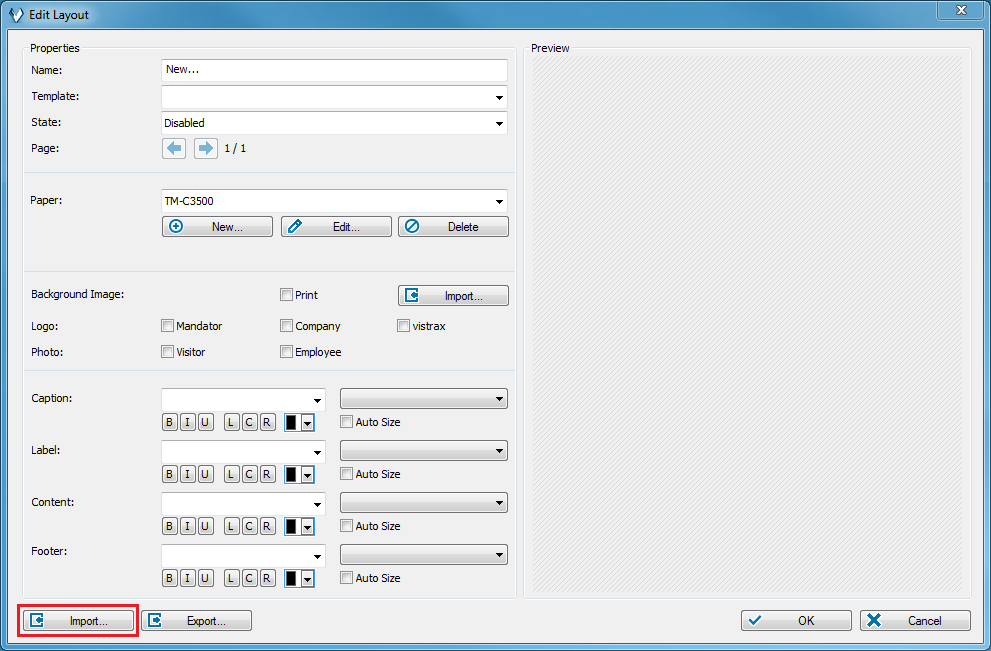
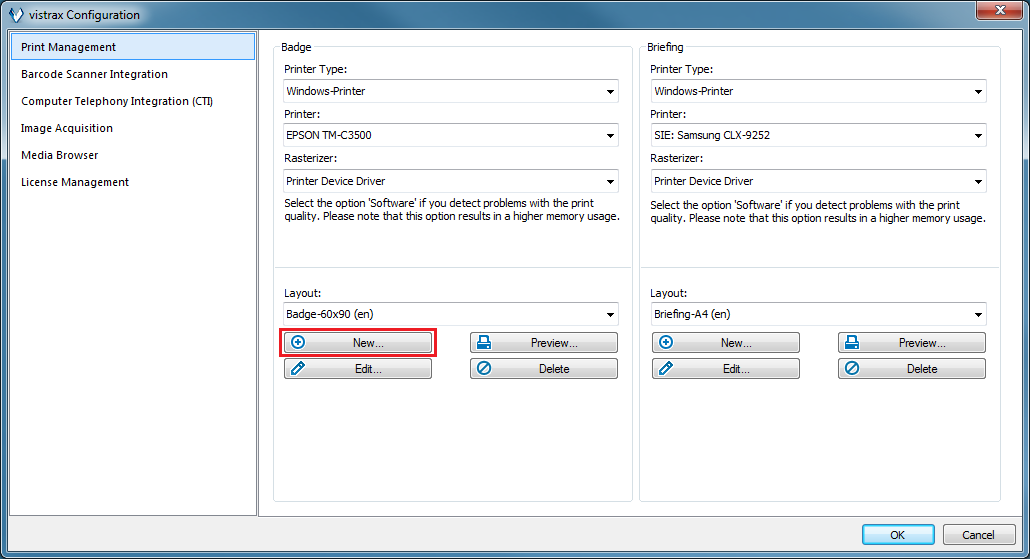
2.1 Within the print management, the corresponding printer must be selected in the “Visitor badge” section and the new layout template must be imported. Click on “New” to import the downloaded layout template and the paper type.
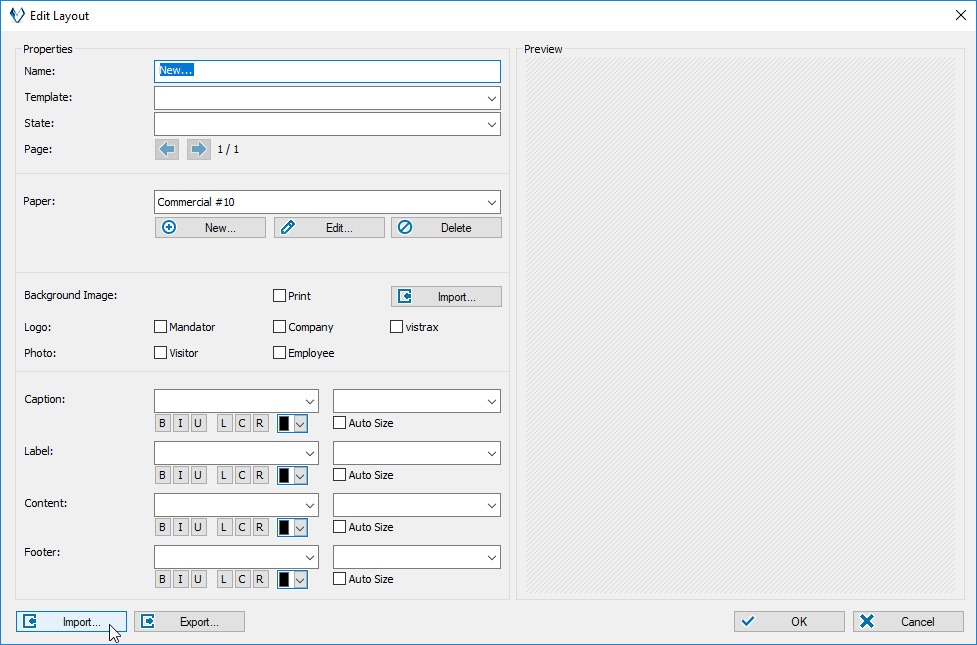
2.2 First the new paper type (if not already available) must be imported. To do so, click on “New” under “Paper type”. If you have already imported the required paper type, you can continue with step 2.4.
You can ignore the following note with “No”.

2.3 In the next dialog, please click on “Import” and select the previously downloaded paper type. Below you can see an example of how the dialog window might look like afterwards.

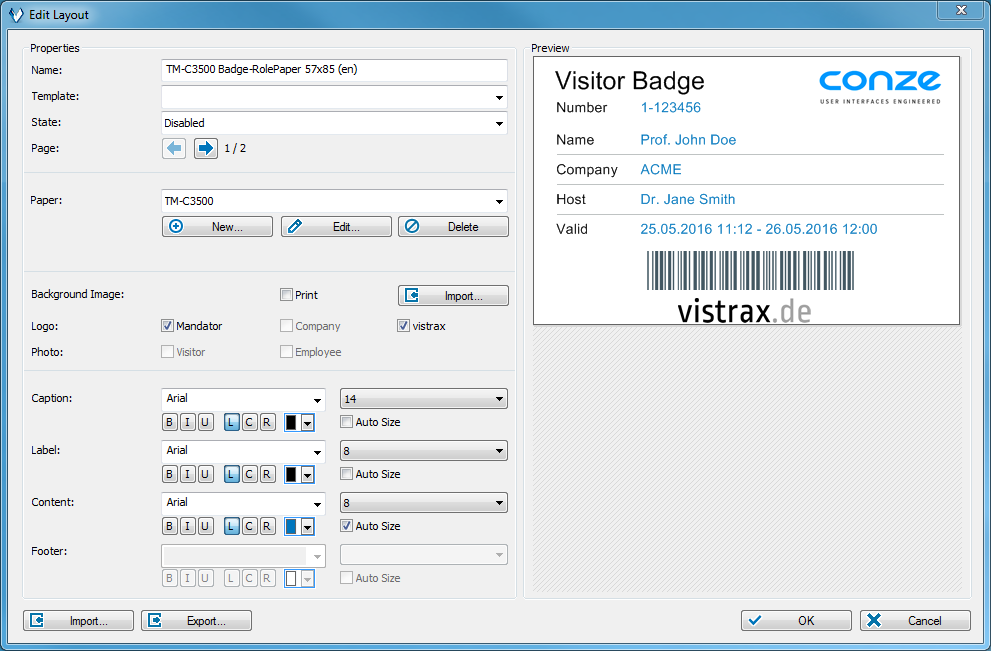
2.4 Now the visitor badge must be imported. To do this, click on “Import” in the lower left corner and select the layout template you downloaded earlier. You should then be able to see the imported layout template. Click “Ok” to save the new layout template