Table of Contents
Initial Setup of Signotec Signature Pad
To use the signature pad in vistrax, you must first set up the device. To set up the signature pad, the driver must be installed in the operating system. Subsequently the connected signature pad is selected and the checklist feature is activated within vistrax. Optional the signature pad can be tested in the corresponding vistrax settings menu, after it has been activated and selected.
List of supported devices
signotec Sigma USB/serial
signotec Omega USB/serial
signotec Gamma USB/serial
signotec Delta USB/serial/IP
signotec Alpha USB/serial/IP
Installation of the device driver
Install the driver before using the signature pad. If the installation was successful, the signature pad will appear in “Control Panel” → “Printers and Devices”. You can get the driver frommanufacturer's page or directly from us via this link.
Note
This step is especially for users of Windows versions that are older than Windows 10. In Windows 10, the device is recognized correctly after initial connection.Activation and Setup of the Signature Pad
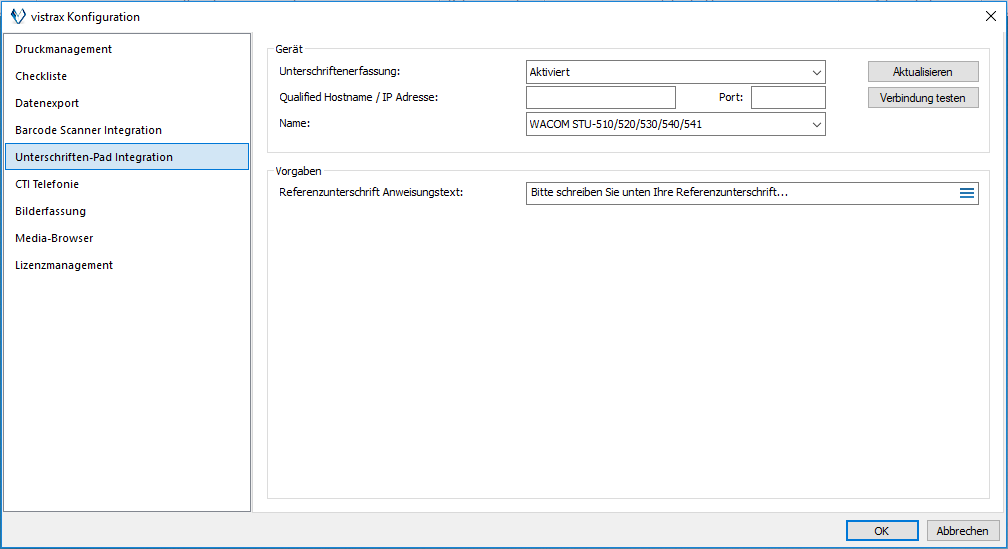
To activate and select the signature pad, please call up the integration menu of the signature pad and first activate the device's usage in general. Please note that this field might not be displayed if the required permission for the current user has not been assigned. Then select the device you have connected in the corresponding selection box.
It is also possible to set a header for the signature pad in the “Settings” area. By using the dictionary button you can translate your predefined text into different languages so that it is automatically adopted when a user changes the application language.
Note
For the signature pad to be used in the software, the checklist feature must be activated. In order to be able to activate this, the user must be granted corresponding rights. For more information, see the chapter "Checklist" in the vistrax application help .

Note
A signature pad can also be accessed via network access, if the device supports TCP/IP connections. For this, the corresponding values are entered in the text fields “IP-Address / Hostname” and “Port”. When using the Signotec signature pads, be aware that the driver sets a timeout for the network request, which may cause delays during the refresh of the dialog.Test of the Signature Pad
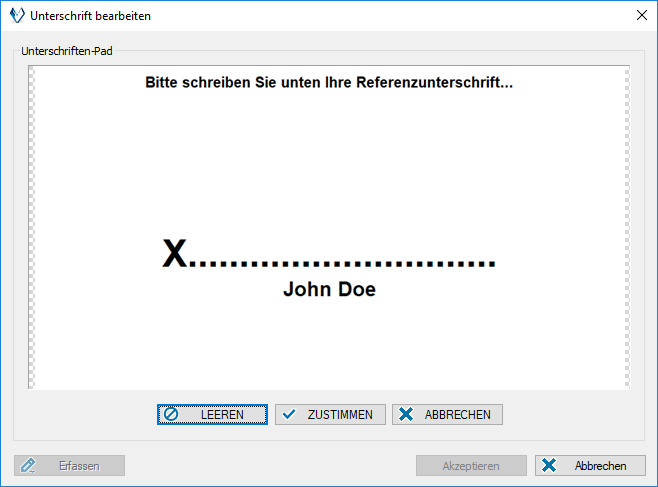
Before you use the signature pad under real conditions, you can test it in the integration menu. To do this, press the “Test” button, which displays a dialog box with a preview of the signature field. The signature pad should display the same picture.

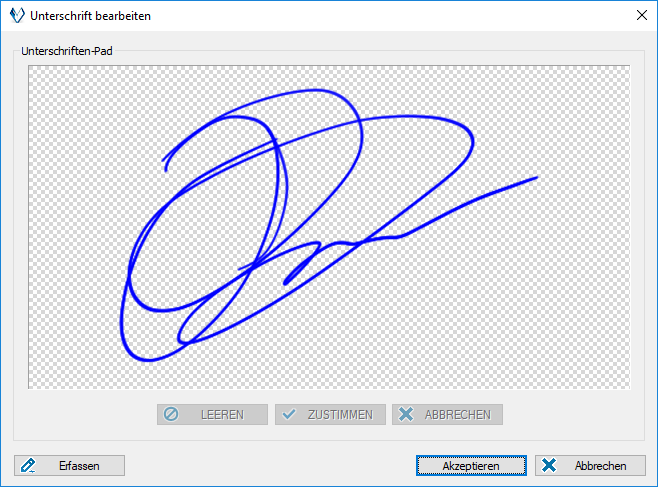
Test the device by writing on it and then confirm your entry. This can be done both on the signature pad itself, as on the dialog box. After confirming the entry, what you have written will be displayed in the dialog box.
