Table of Contents
Initial Setup of Badgy 200
To use the printer in vistrax, you initially need to set up the device first. To set up the device successfully you will need go through two steps. First the printer needs to installed on the operating system. Second, the format/label needs to imported in vistrax and the paper-type is needed to set.
Installation of the printer driver
The printer comes with a printer driver, please install it first. If your installation was successful the printer will appear in Control Panel→ Printers and Devices. Alternatively, you can obtain the driver from manufacturer's page or directly from us via this link.
Adjusting of your printer and vistrax with the printer paper
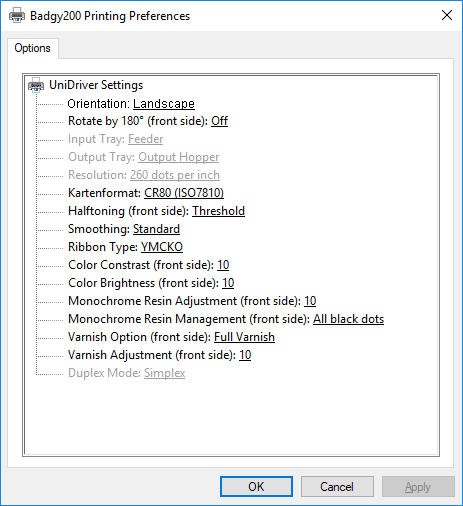
1. Configuring the printer in Control Panel
Right-click the printer in the Control Panel and open the Printer Preferences. Set the Orientation to Landscape.
2. Configuring the printer in vistrax
2.1 Open the layout overview page with the following link. Through clicking on your printer its layout options are shown. Download your desired layout and import it in vistrax.
You will also need the following file to import it as a new paper-type described in chapter 2.5.
2.2 Open vistrax and choose ‘Configuration’. In option ‘Printer’, please select the previously installed printer first.
Note
If the printer is not listed in vistrax even if the initial setup is done, restart the software.
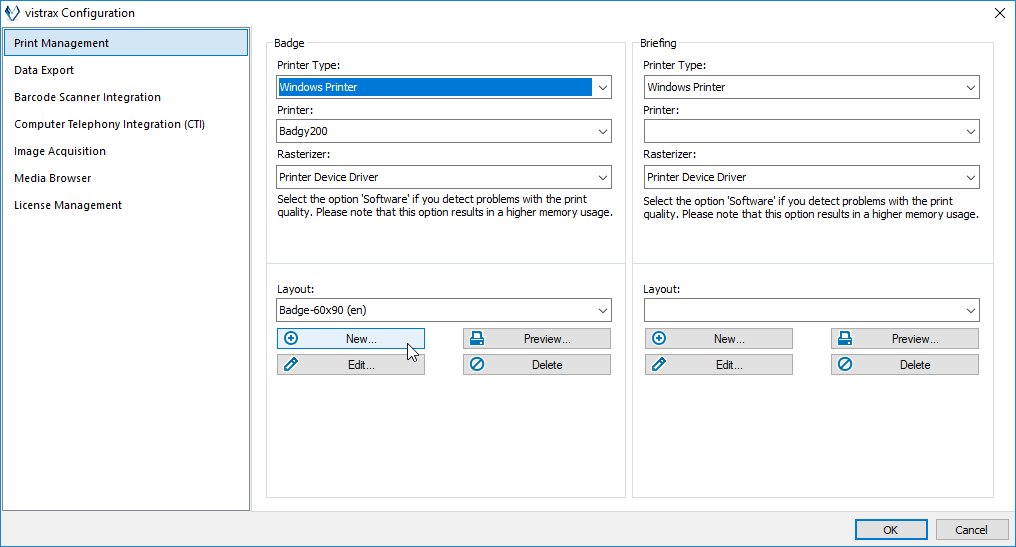
2.3 Within the Print Management in the Badge section you will need to select the aforementioned printer and import a new layout. Click on ‘New’ to import the downloaded badge and the paper-type.

2.4 Firstly you will need to import the paper-type. Please click ‘New’ in the ‘Paper’ section.

Please select ‘No’ in the appearing window.

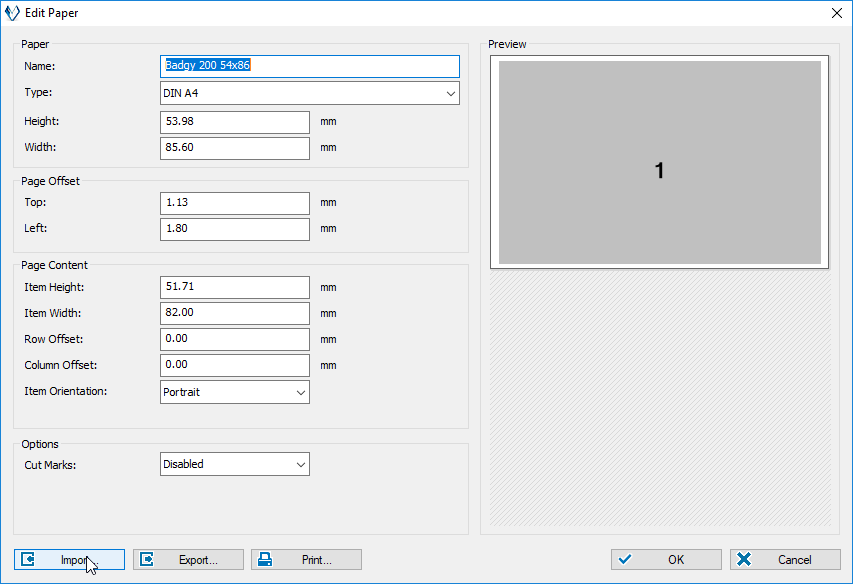
2.5 In the next window please click on ‘Import’ and select the downloaded paper-type from your system. After importing your view should be like the following screenshot. Close this window by clicking ‘OK’.
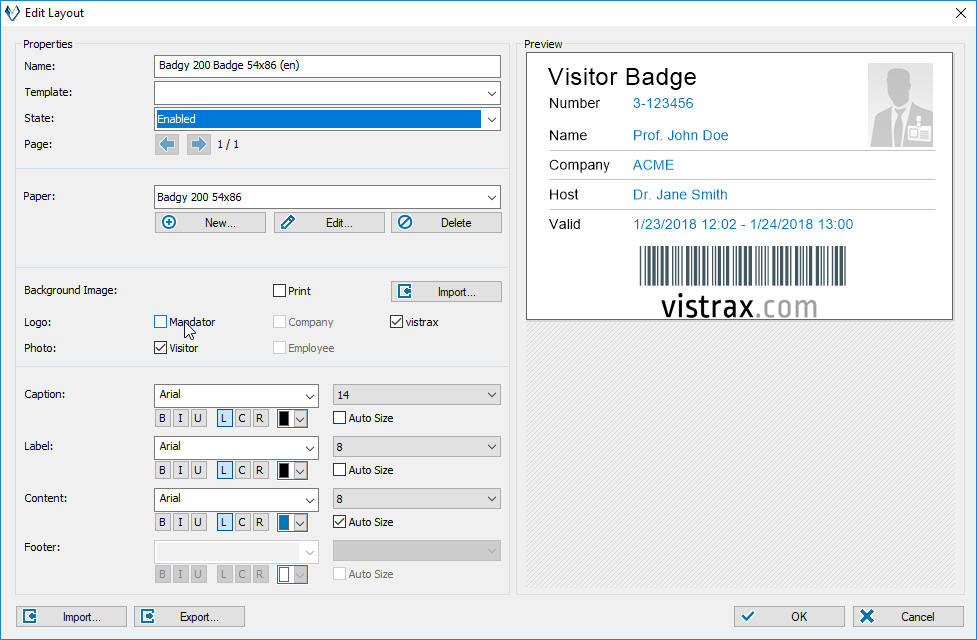
2.6 At last you need to import the badge. Click on ‘Import’ and select the downloaded badge from your system.
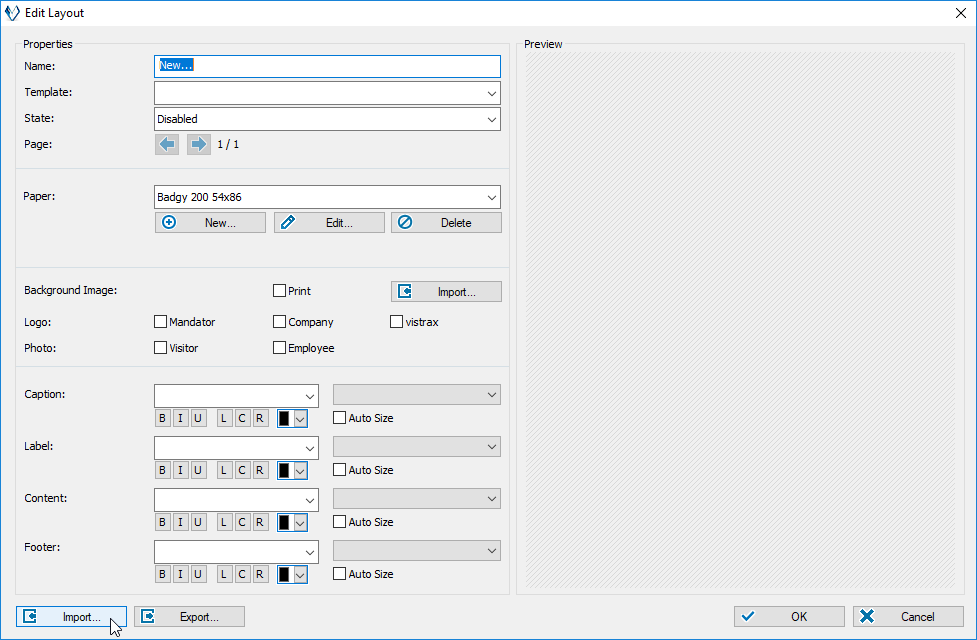
After a successful configuration your final view should be like the following screenshot. In the marked area you can disable the visitor photo and enable your company logo for the badge. For further usage the state must be set to ‘Enabled’.